
Thin wall parts require more careful design to ensure they can be filled and molded consistently. Details such as wall geometry, ribs, corners, gates, and draft angles can directly affect molding performance. Below are key design tips to help improve part quality and avoid common thin-wall molding issues.
What is Thin Wall Injection Molding?

Thin wall injection molding produces lightweight, thinner parts while retaining sufficient structural strength. By using less plastic, it can reduce material costs, shorten cooling and cycle times, and improve production efficiency. However, thinner sections are more challenging to fill because molten plastic cools faster, often requiring higher injection pressure and faster filling speeds, leaving little room for error. This narrow tolerance means thin wall molding demands more rigorous design considerations, from gate placement to material selection.
Thin Wall Injection Molding: Design Tips and Tricks
Designing parts for thin-wall molding requires careful consideration to ensure successful manufacturing and high-quality thin-wall plastic parts. Here are some key tips and tricks to keep in mind when designing thin wall parts:
1. Uniform Wall Thickness
Uniform wall thickness is critical in thin-wall injection molding to ensure even cooling and prevent defects like warpage or sink marks, as variations can cause differential cooling rates, internal stresses, and part distortion. Wall thickness should generally range from 0.5 mm to 1.5 mm depending on the material and part size. Thinner walls cool faster but may compromise strength, so it is important to balance thinness with the material’s flow properties and the part’s structural requirements.
2. Optimize Cooling System
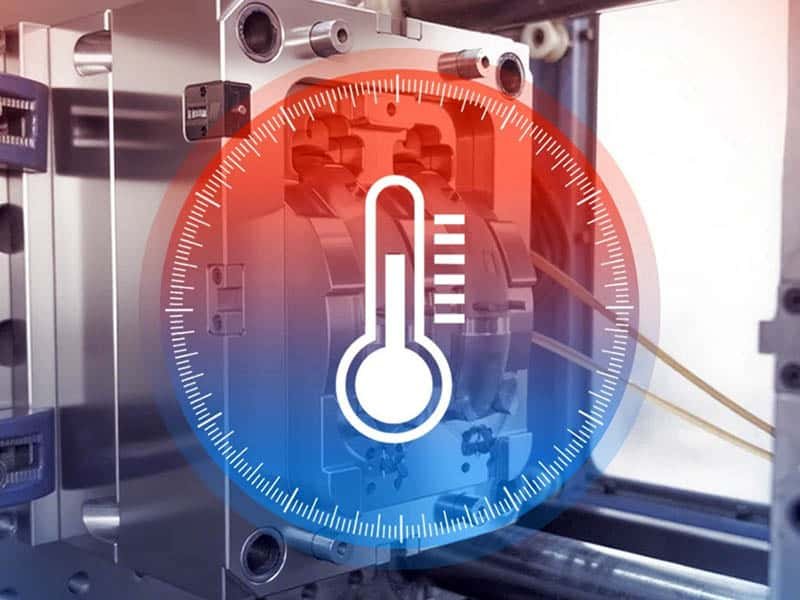
Mold design should incorporate cooling channels that are strategically placed to remove heat efficiently. Conformal cooling channels, which follow the contours of the part, can offer the most effective heat transfer. Where geometry allows, mold materials with high thermal conductivity, such as beryllium-copper alloys, can further enhance cooling performance, especially in areas that are difficult to reach with conventional channels.
3. Radii and Corner Design
Sharp corners restrict material flow and create stress concentrations in thin-wall parts. Adding radii at internal and external corners improves flow and reduces the pressure required to fill the mold. Recommended practice is to apply radii of at least 0.5 to 1 times the nominal wall thickness at corners and transitions. This helps the molten material move smoothly into thin features and supports better part ejection.
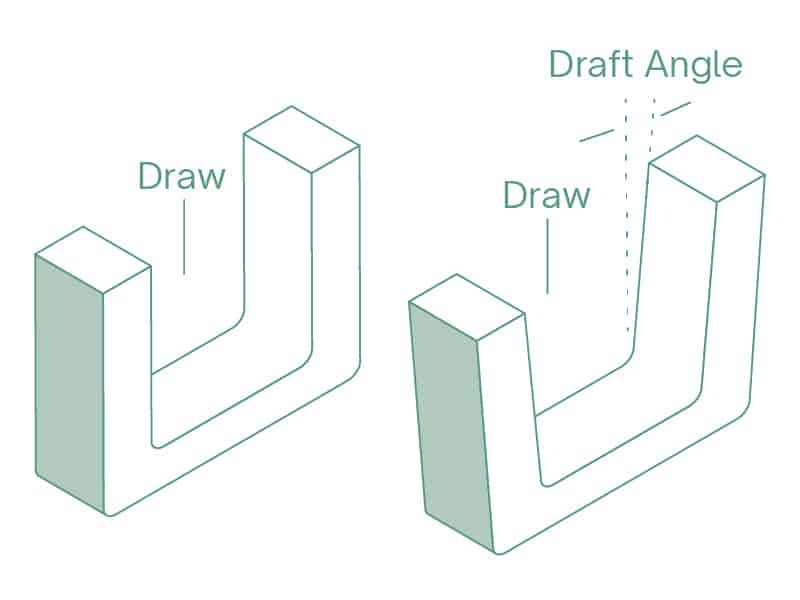
4. Draft Angles
Draft angles facilitate part ejection and minimize drag on thin, fragile walls. Without sufficient draft, parts may stick in the mold or sustain surface damage during ejection. It is recommended to apply a minimum draft angle of 0.5–1 degree per side on vertical surfaces. For textured surfaces or deeper features, increase to 1–2 degrees or more.
5. Consider Material Shrinkage and Warpage
Choosing the right material is crucial for thin-wall molding. High-flow materials, such as polypropylene, ABS, or polycarbonate blends, are ideal because they can easily fill thin cavities without requiring excessive pressure, reducing the risk of incomplete filling. Additionally, incorporating flow-enhancing additives can further improve material performance, making it easier to achieve consistent part quality in thin-wall applications. Since material choice also affects shrinkage behavior and long-term dimensional stability, it’s worth reviewing common mistakes in plastic material selection before finalizing your resin.
6. Optimize Gate Design
Proper gate placement ensures even material distribution and minimizes pressure drops, which are critical for filling thin cavities. Careful consideration of gate size, location, and number is essential to achieve optimal results. Smaller gates are often preferred to reduce shear stress and prevent material degradation. For larger parts, using multiple gates can help distribute the material more evenly, reducing the flow length and ensuring uniform filling.
7. Optimizing Injection Parameters
Achieving consistent fill in thin-wall parts depends heavily on injection parameters. Higher injection pressures are often necessary to fill thin cavities adequately and avoid short shots or incomplete filling, while faster injection speeds help ensure the molten material reaches all areas of the mold before it begins to cool. At the same time, maintaining the correct temperature for both the molten plastic and the mold is essential to achieve the desired flow characteristics and prevent defects such as warpage or sink marks.
Learn more about the 8 most common injection molding parameters.
What Are the Common Applications of Thin Wall Injection Molding?
Thin wall injection molding is utilized across various industries due to its efficiency and ability to produce thin wall plastic parts. Here are some common thin-wall injection molding applications:
- Packaging
- Food Containers
- Bottles and Caps
- Consumer Goods
- Household Items: Such as storage containers, cups, and kitchen utensils.
- Electronics Housings
- Medical Devices
- Syringes and Vials
- Test kits
- Automotive Parts
- Interior Components
- Bumpers and Grilles
Conclusion
Thin wall injection molding offers numerous benefits that are vital in the contemporary manufacturing landscape. Erye Rubber and Plastic is a professional manufacturing partner that can help you through the injection molding process, from mold design to production. Contact us to start your injection molding project.