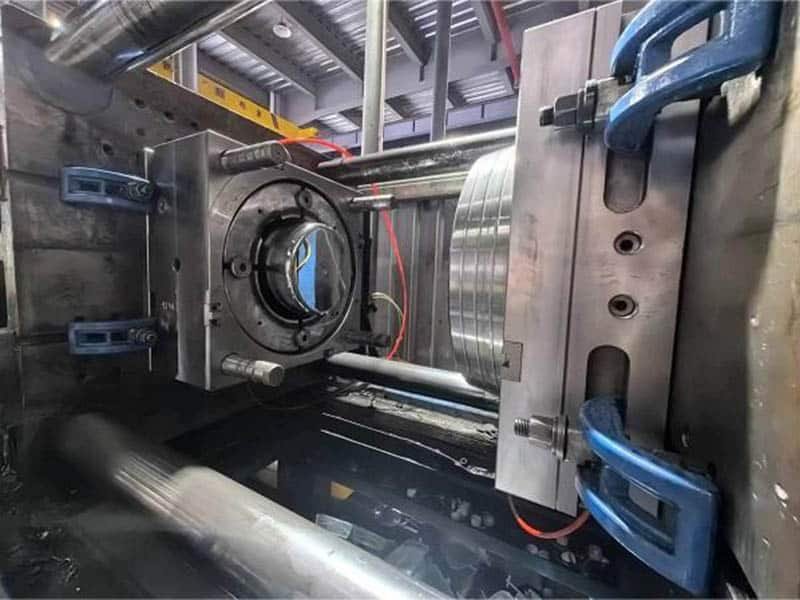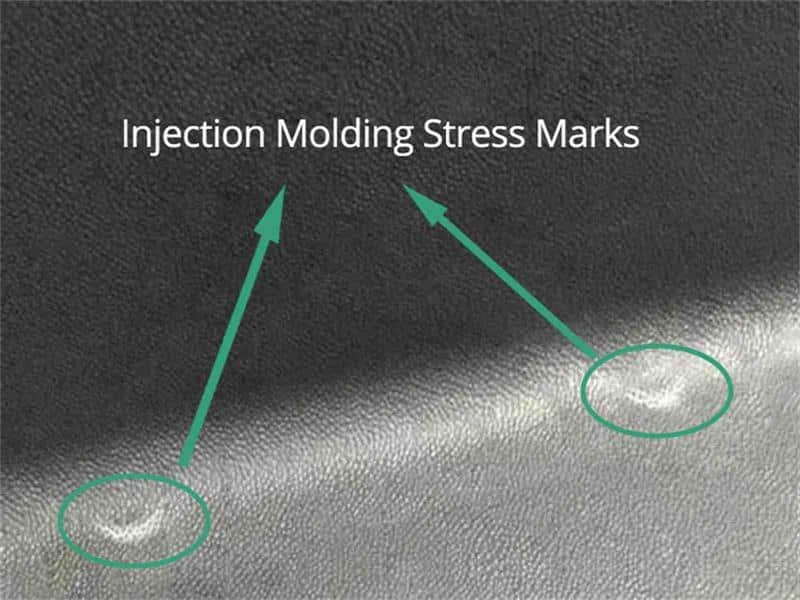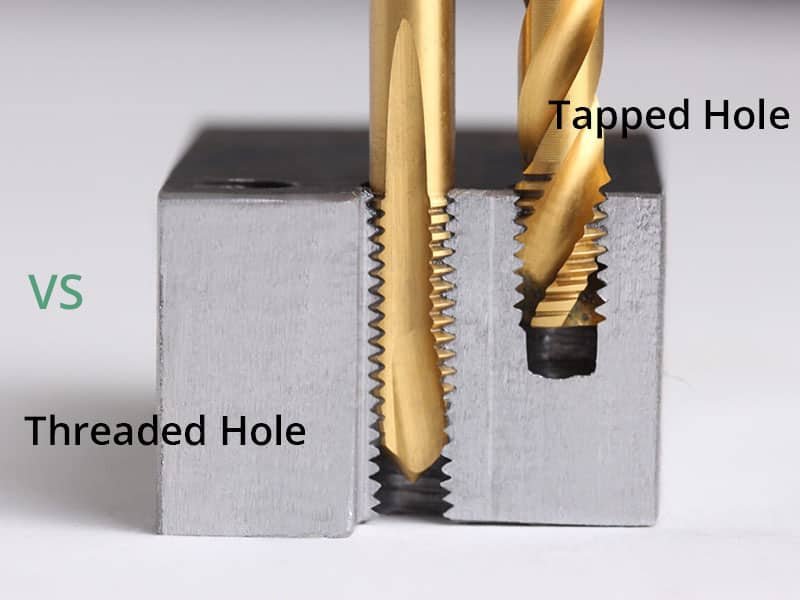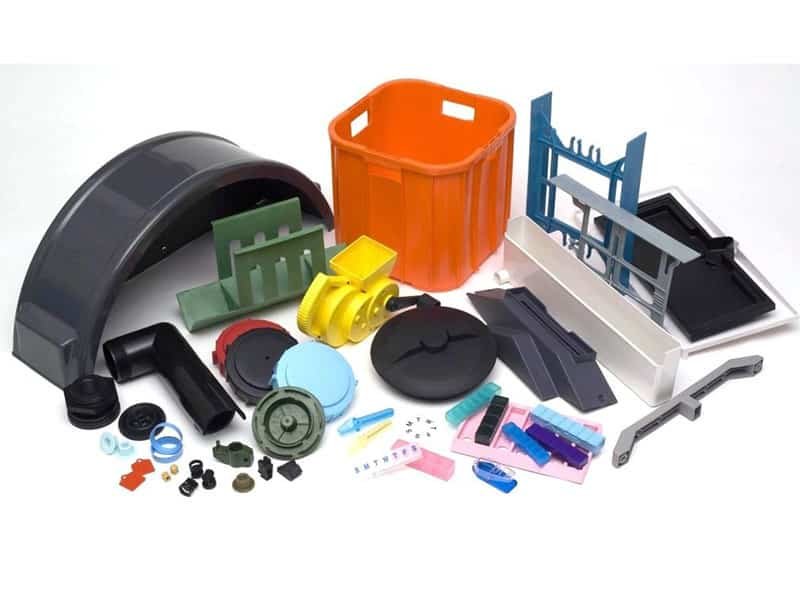

If you’re looking to achieve low-cost injection molding, you’re in the right place. Whether you’re a designer or manufacturer, everyone wants to save money without sacrificing quality. This list of practical tips will show you exactly how to reduce your injection molding tooling costs. These are real, actionable strategies that can make a difference in your next project.
To better understand the tips to reduce injection molding costs, you may want to read our blog How Much Does Injection Molding Cost, to learn what factors determine the cost and how much does it cost.
Injection Molding Cost Structure
The main cost elements in injection molding include tooling, materials, processing, and secondary operations.
- Tooling often represents 40-60% of the total project cost for low to medium volumes, as it covers mold design and fabrication.
- Materials contribute 15-25%, depending on the resin type and part weight.
- Processing costs, which cover machine time, labor, and energy, range from 15-20%.
- Secondary operations and logistics make up the remainder.
12 Tips to Reduce Injection Molding Costs
1. Eliminate Undercut
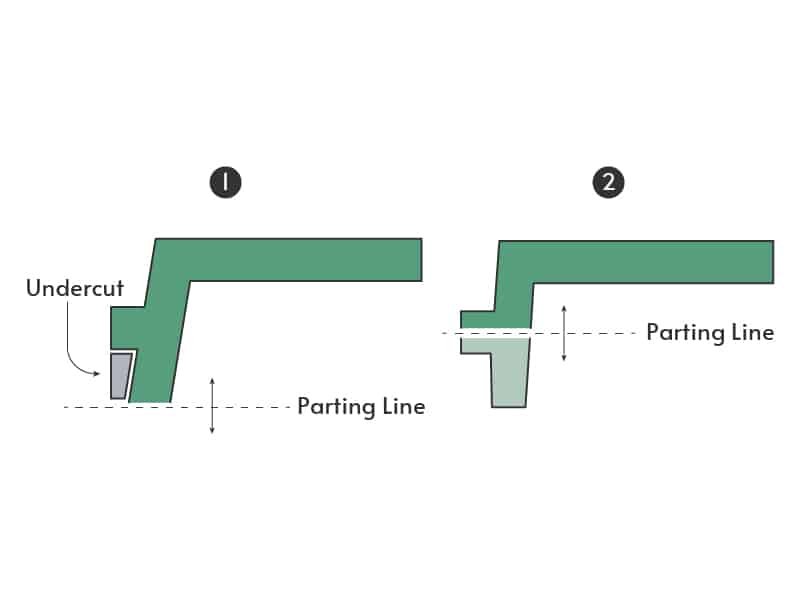
Undercuts complicate mold design and ejection, increasing both time and costs. In order to release these parts from the mold cavity, it requires additional mold mechanisms. For example, a part with a clip feature and undercut would normally need sliding cores.
However, by modifying the design— such as adding a simple slot— the tooling process becomes much simpler and more affordable. While some undercuts are essential for part functionality or aesthetics, unnecessary ones should be avoided.
2. Remove Unnecessary Features
Evaluate your design to identify any elements that do not significantly enhance the product’s functionality or appearance. Unneeded functions such as extra surface textures, non-functional ribs, or embossed logos and patterns can often be removed. These unnecessary features add complexity to the mold, resulting in higher tooling costs.
In some cases, features like logos or textures are required for product branding or regulatory compliance. However, using sensible design practices can still minimize additional costs. For example, choosing simple fonts like Arial or Verdana for logos and text, and keeping the depth of engravings under 0.015 inches, can help reduce costs without sacrificing necessary branding or regulatory elements.
3. Reduce Cosmetic Finishes and Appearances
Achieving a high cosmetic finish often involves additional processes like bead blasting, EDM, or extensive mold polishing, all of which increase tooling costs. Finishes that go beyond a standard PM-F0 (as-machined) finish typically require handwork, sometimes up to an SPI-A2 mirror finish using Grade #2 diamond buffs. These will also increase labor costs.
Although shiny, glossy finishes may enhance a product’s aesthetic appeal.If the finish isn’t critical to the product’s functionality or overall value, it’s best to skip it altogether to reduce expenses.
4. Take Part Size into Consideration
When designing parts, always account for their size and how well they will fit into the mold. The part size affects how much room is available for essential elements like sprues, runners, and ejector pins, all of which are necessary for proper mold production. Larger parts require bigger molds, which, in turn, increase tooling and part costs.
Furthermore, large parts that could lead to higher material costs and longer cycle times due to additional molding and cooling requirements. In short, larger part size increases mold complexity, material usage, and cycle time, ultimately driving up both tooling and production costs.
5. Minimize the Part Volume by Reducing Wall Thickness
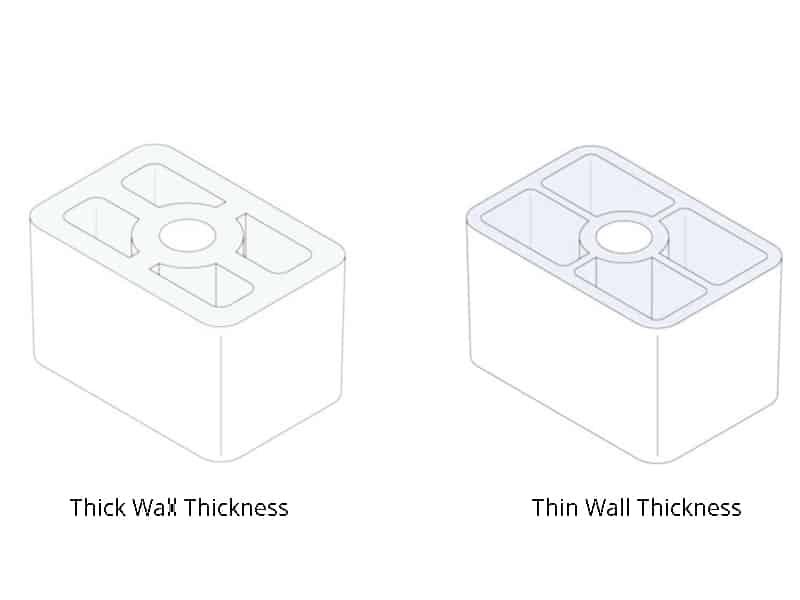
Thinner walls not only use less material but also speed up the injection molding cycle. For example, reducing the wall thickness from 3mm to 2mm can cut the cycle time by 50 to 75%. Thinner walls allow the mold to fill more quickly, and the part cools faster. Since nearly half of the injection molding cycle is dedicated to cooling, thinner parts lead to a more efficient process.
However, balance is key. Thinning the walls too much could compromise the part’s rigidity, affecting its performance. To maintain strength, consider adding ribs in strategic areas. This allows for a thinner, more cost-efficient design without sacrificing functionality.For more detailed design guidance, see our thin wall injection molding guide, which explains how to optimize thickness without sacrificing functionality.
6. Design Self-Mating Parts
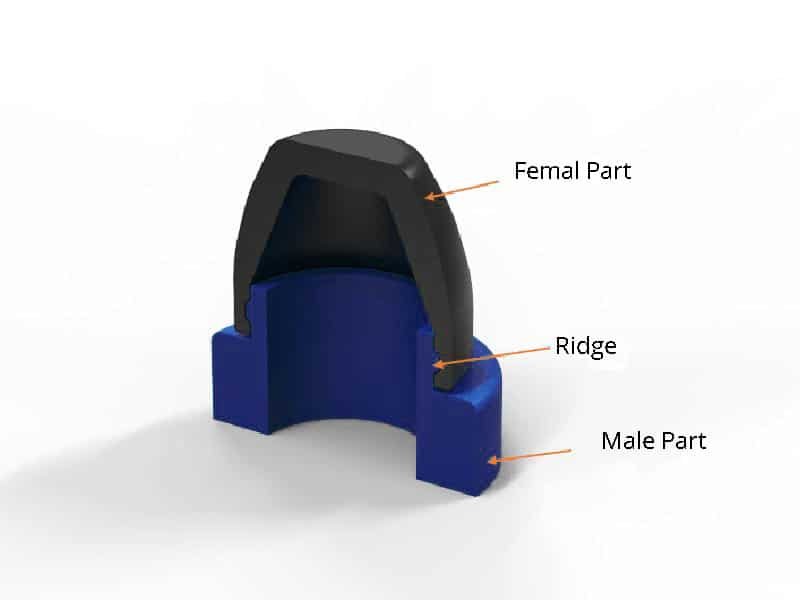
Self- mating parts, This design allows parts to snap or fit together by themselves, like snap-fit cases or interlocking components. Because no extra connecting parts are needed, the assembly becomes much simpler. It also means only one mold is required, which reduces mold cost and can cut the mold size in half.
7. Choose the Right Material
The type of plastic you choose can significantly impact both the cost and production time. For cost-effective solutions, polypropylene is a great option. It’s affordable, easy to work with, and doesn’t require much post-processing. However, for more durable or stronger parts, materials like nylon or polycarbonate might be better choices. While these are more expensive, they can withstand higher temperatures and be used for a long time.
Unless your part needs to meet specific requirements like extreme temperature resistance or food-grade standards, material selection is often flexible. By analyzing your product’s intended use and market, you can make an informed decision to keep costs in check without sacrificing functionality. Additionally, staying up-to-date with new material advancements can present cost-effective alternatives.
8. Pay Attention to DFM Analysis

A Design for Manufacturability (DFM) analysis is a critical tool to help reduce costs in the injection molding process. When you receive a quote, the DFM analysis identifies potential issues like non-machinable parts, insufficient draft angles, or problematic geometries in your design. These recommendations are essential to optimize the design before proceeding.
Reviewing these suggestions thoroughly can prevent costly errors and ensure smoother production. If you have any questions about the analysis or design modifications, don’t hesitate to consult with an applications engineer for expert advice.
9. Use Family or Multi-Cavity Mold
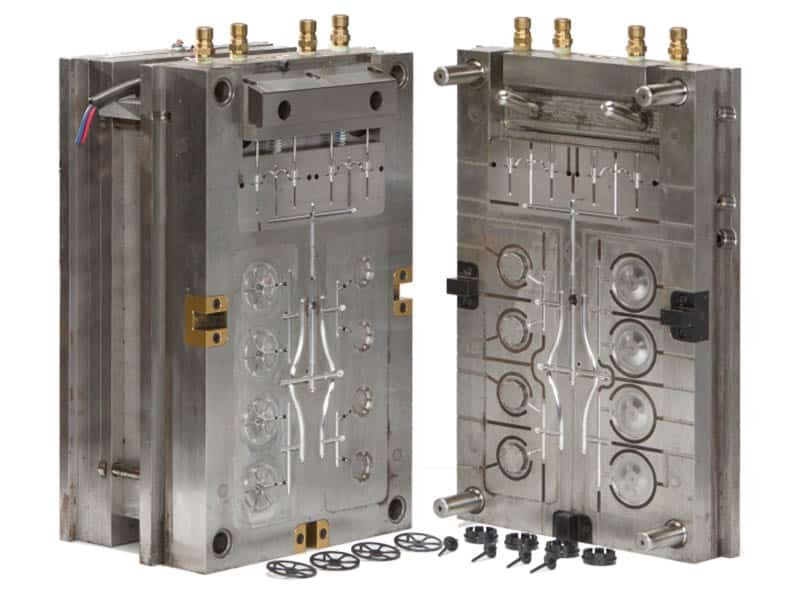
One effective way to reduce tooling expenses is by utilizing family or multi-cavity molds. Multi-cavity molds are ideal for high-volume production, as they allow more parts to be created in each cycle without the need for multiple molds, which ultimately lowers the per-unit cost. Although tooling costs might be higher initially, this approach offers significant cost savings in the long run due to increased production efficiency.
10. Use a Core Cavity Approach
The core cavity approach is a highly cost-efficient technique for injection molding. In this approach, the mold material is shaped around a solid core, which ensures consistency of intricate features. It simplifies the molding of tall walls and ribbed surfaces, eliminates the need for steep draft angles, and results in smoother surface finishes.
It is especially beneficial for complex interior parts, such as those found in electronic housings. Additionally, it improves venting and enhances the ejection process, leading to a more efficient and cost-effective production method.
11. Modify and Reuse Mold
Modifying and reusing existing molds can significantly reduce costs in injection molding. Since it is easier to remove metal from an existing mold than to add more, careful planning can allow the same mold to be used for multiple iterations of a part design. Instead of purchasing new molds for every revision, start with a basic design, and then re-machine the mold to accommodate additional features or larger parts.
This approach can save a substantial amount on tooling development. Incorporating a quick-mold change system can further optimize the process. Using tool inserts or methods like MUD tooling, which allows a smaller mold to be inserted into an existing base, is another cost-effective way to reuse molds and save on tooling expenses.
12. Use Overmolding

Consider overmolding as an option for cost savings. Instead of making multiple separate parts and then assembling them later, overmolding allows two materials to be molded directly together in one process.
This removes the need for extra fasteners, glue, or manual assembly steps, which lowers labor and production costs. For example, overmolding a gasket directly onto a part. While overmolding might have higher upfront costs, it can reduce expenses down the line.
Conclusion
Reducing injection mold costs doesn’t have to be a complex challenge. By applying the tips we’ve discussed, you can start saving right away and improving your process efficiency.Finding the right balance between cost-saving strategies and maintaining high-quality standards is key.
ERYE specializes in helping businesses just like yours navigate these challenges and optimize their production processes. Feel free to our injection molding capabilities or reach out to us with any questions—we’re here to help you achieve the best results for your projects.