
Mold polishing determines how your plastic parts look, feel, and release from the tool. A well-polished cavity gives you a clear lens, a clean gloss surface, and smooth ejection. A rough cavity gives you hazy parts, drag marks, and rejected batches. This guide explains how injection mold polishing works in practice, covering the main polishing methods, the mold polishing tools, the steps, the checks before polishing, and the defects that most often appear.
Understanding Plastic Injection Mold Polishing
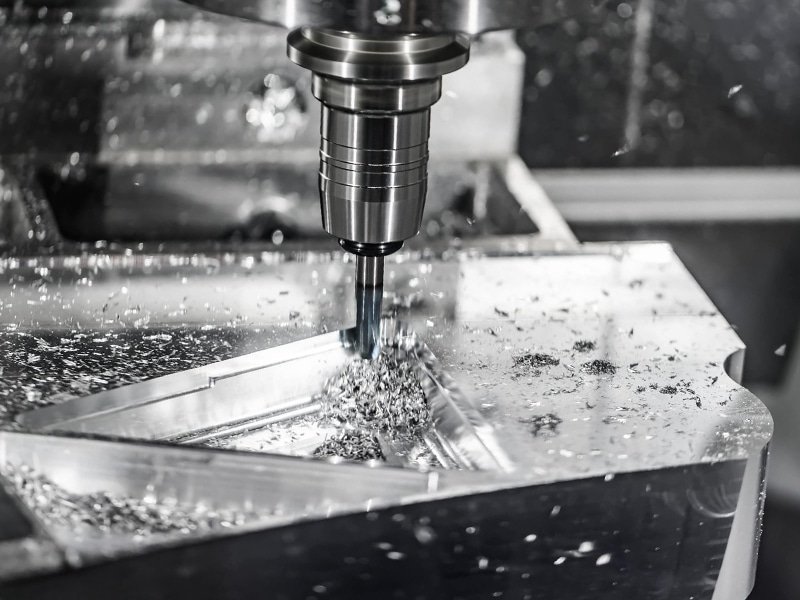
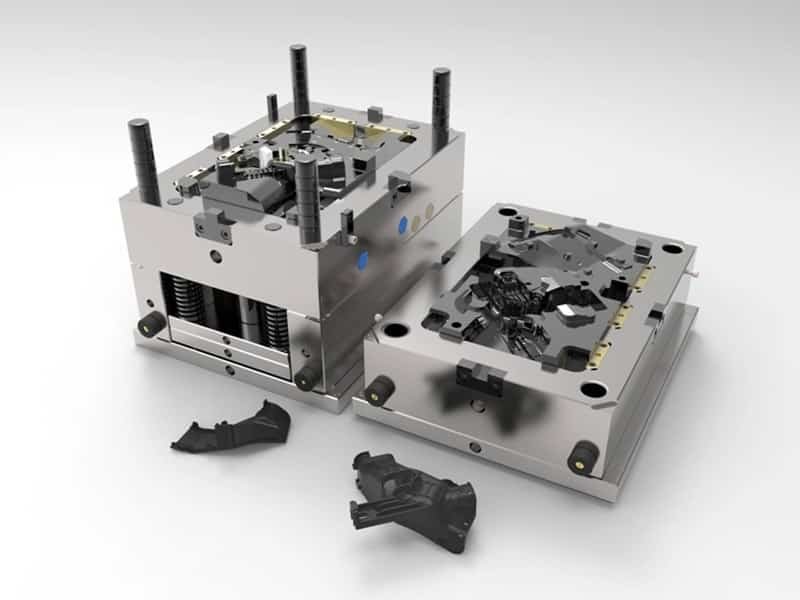
Mold polishing removes the tiny peaks and machining marks left on a cavity or core surface. It replaces them with a smooth, controlled finish. This finishing step follows the machining and preparation stages involved in injection mold tooling. That finish is copied onto every part the mold produces. If the cavity has one scratch, every part carries that scratch.
Mold polishing has three main functions:
- Appearance. It sets the gloss level. A smoother cavity can give a part a higher and more even gloss.
- Release. It reduces friction between the plastic and the steel. Parts leave the mold with less force and fewer stress marks.
- Function. The micro-scratches on a cavity or core surface scatter light and trap melt. Polishing helps the melt fill the cavity evenly and keeps the surface free of flow marks. On a clear part, a smoother cavity lets light pass through without clouding.
The result of polishing is the mold’s surface finish. It ranges from a rough matte texture to a mirror gloss, and each level gives the part a different look and feel. You can check the detailed finish levels in this guide to injection mold surface finish.
5 Common Mold Polishing Methods
There are five plastic injection mold polishing methods. Each one removes surface roughness differently. The sections below explain how each method works, where it fits, and what trade-offs come with it.
Mechanical Polishing
Mechanical polishing removes material by rubbing. A polisher works through oilstones, sandpaper, and diamond paste, moving from coarse grits to fine ones. Hand tools and rotary tools both apply.

Pros
- It works on almost any cavity shape.
- It works well for both textured and high-gloss surfaces.
- It gives the polisher direct control over edges and fine details.
- It requires low equipment cost.
Cons
- It runs slowly on large cavities.
- Results can vary between two polishers on the same mold.
- Heavy pressure can cause orange peel.
Chemical Polishing
Chemical polishing smooths the surface with an acid solution. The solution dissolves the tiny peaks faster than it dissolves the recesses. As a result, the surface levels out after a short soak, and only a thin layer comes off, which suits small inserts. The liquid also flows into every area it touches, so complex shapes that hand tools cannot reach get polished too.

Pros
- It needs simple equipment.
- It treats many pieces in one run.
- It reaches complex shapes and small details.
- It reduces the time required for polishing plastic injection mold surfaces.
Cons
- It is hard to control. Bath time and temperature change the result.
- It uses hazardous chemicals that need careful handling.
- It gives a limited finish level and cannot remove deep scratches.
- It can look uneven on parts made from mixed materials.
Ultrasonic Polishing
Ultrasonic polishing uses a tip that vibrates at 20 to 40 kHz. The tip drives fine abrasive particles across the surface. Ultrasonic processing applies very little mechanical force, reducing the risk of workpiece deformation. This method reaches deep and narrow areas. It is particularly effective for delicate molds and textured surfaces

Pros
- It reaches deep ribs, narrow slots, and tight corners.
- It works on hardened steel.
- It reduces manual effort on complex geometry.
Cons
- The equipment costs more than hand tools.
- It runs slowly on large, flat areas.
- It rarely reaches a mirror finish alone, so a diamond paste stage usually follows.
- Wrong tip pressure can leave marks on the surface.
Electro-Polishing
Electro-polishing removes surface material with electric current. The mold part sits in an electrolyte bath while current passes through it. The current dissolves the peaks first, so the surface becomes smooth and bright. This method works best on stainless steel.

Pros
- It removes material at a microscopic level, ensuring a flawless finish.
- It improves corrosion resistance.
- It reaches complex shapes evenly.
- It leaves no mechanical scratch marks.
Cons
- It only works on suitable conductive alloys.
- It cannot remove deep scratches or large defects.
- It can change dimensions slightly.
- It needs special equipment and careful chemical handling.
Fluid Polishing
Fluid polishing pushes an abrasive-filled medium across the surface under pressure. The medium typically consists of special compounds (polymer-like substances) mixed with abrasives, such as silicon carbide powder. The abrasive particles wear down the rough spots as the fluid moves. Another common name is abrasive flow polishing.
Pros
- It reaches hidden channels and internal passages.
- It gives an even finish along the whole flow path.
- It can adjust the abrasive material and pressure to meet specific polishing requirements.
Cons
- It needs custom fixtures for each part.
- It can round sharp edges.
- It gives poor control on cosmetic cavity faces.
- The setup cost is high for a single piece.
Polishing Tools Used in Injection Mold
Mold polishing uses more than abrasives. A full setup of mould polishing tools also includes carriers, power tools, lubricants, and inspection tools. These mold polishing tools play a distinct role in the process.
Abrasives for Mold Polishing
- Oilstones and ceramic stones. They remove machining and EDM marks. Grades run from coarse (180) to fine (1000).
- Sandpaper and abrasive cloth. They take over after stones. Typical grits run from 320 to 1200.
- Diamond paste and compound. They create the final gloss. Most paste is color-coded by grain size, so each grade is easy to identify.

Carriers and Applicators
- Felt and cotton buffs. They carry paste over flat and curved areas.
- Boxwood and bamboo sticks. They reach corners and ribs. Their softness protects sharp edges.
- Copper and brass tips. They hold diamond paste in narrow slots.

Power Tools for Mold Polishing
- Die grinders and flex-shaft tools. They speed up roughing on large areas.
- Ultrasonic polishing units. They handle deep and narrow geometry.
- Rotary polishing heads. They give an even pass on flat surfaces.
Lubricants and Cleaners
- Kerosene or light oil. They keep stones from loading with debris.
- Isopropyl alcohol and lint-free wipes. They clear paste and dust between stages.
- Ultrasonic cleaning bath. It removes trapped abrasives from small details.
Inspection Tools
- LED inspection light. It shows scratches that room light hides.
- Magnifier or microscope. It reveals pits and fine lines.
- Surface roughness tester. It measures Ra. A final Ra below 0.025 µm is common for optical-grade work.

Mold Polishing Steps and Procedures
Mold polishing follows one rule: each stage removes the marks left by the previous stage. The steps below describe the standard flow for an injection mold cavity.
Step 1: Clean and Inspect the Surface
The polisher cleans the cavity with solvent and inspects it under bright light before starting mold polishing. This step reveals machining marks, EDM texture, and any damage. The polisher then decides the starting grit.
Step 2: Rough Stoning
Mold polishing starts here. The polisher uses a 180 to 320 grit stone to remove tool marks and the EDM recast layer. Stone strokes run in one direction. For example: On an EDM-cut cavity, the surface looks gray and pitted. Rough stoning removes that layer before any fine work begins.
Step 3: Medium Sanding
The polisher moves through 400, 600, and 800 grit paper or fine stones. Each grit runs at 90 degrees to the previous one. That change of direction makes the old lines easy to see, so the polisher knows when they are gone. For example: After 400 grit leaves vertical lines, 600 grit runs horizontally until every vertical line disappears.
Step 4: Fine Sanding
The polisher uses 1000 to 1200 grit for B-grade and A-3 finishes. The surface looks smooth here, but fine lines remain. Many B-grade finish molds stop at this stage of mold polishing.
Step 5: Diamond Paste Polishing
For A-grade finishes, the polisher steps through diamond paste from 15 µm to 3 µm, then 1 µm and 0.5 µm. Each grade gets its own felt or stick. The polisher uses light pressure. Heavy pressure during mold polishing builds heat and causes orange peel.
Step 6: Final Buffing and Cleaning
A soft cotton buff and the finest paste give the final gloss. The polisher then cleans the cavity with alcohol and inspects it under angled light. Any haze or fine scratch sends the mold back one stage.
Step 7: Protect the Surface
A cavity finished with mold polishing rusts quickly. The polisher coats the steel with a thin rust preventive and stores the mold in a dry place.
Pre-Polishing Checks for Injection Molds
Preparation decides how smoothly mold polishing goes. Some conditions of the mold limit what the polisher can achieve. Confirming them early keeps every stage on track.
- Steel grade and hardness: Hardness decides which abrasives work and how fine the finish can get. Pre-hardened P20 suits stones and sandpaper and reaches semi-gloss finishes. H13 and S136 suit diamond paste and can reach mirror finishes.
- Machined surface and EDM recast layer: The recast layer looks gray and dull. It is hard and brittle, so it flakes out during fine polishing and leaves pits. It has to come off first.
- Polishing allowance: Every stage removes a little steel. A cavity already at final size has no room for it.
- Sharp edges and fine details: Parting line edges, shut-off edges, ribs, and corners lose their shape quickly under a power tool, or too many hand passes. Marking them first protects them.
- Draft angles: A highly polished wall with little draft grips the part. A draft of at least 1 to 2 degrees on polished walls helps parts release.
- Textured and masked areas: Polishing strokes wear down texture next to a polished area. Taping the textured zone keeps the matte finish in place.
- Cleanliness and lighting: Dust, loose grit, and old paste scratch fine stages. Dim light hides those scratches until parts come off the press.
Common Mold Polishing Defects and How to Prevent Them
Mold polishing defects come from pressure, heat, dirt, or skipped steps. Most of them look small on the mold and big on the part. This section shows the usual problems and the habits that prevent them.
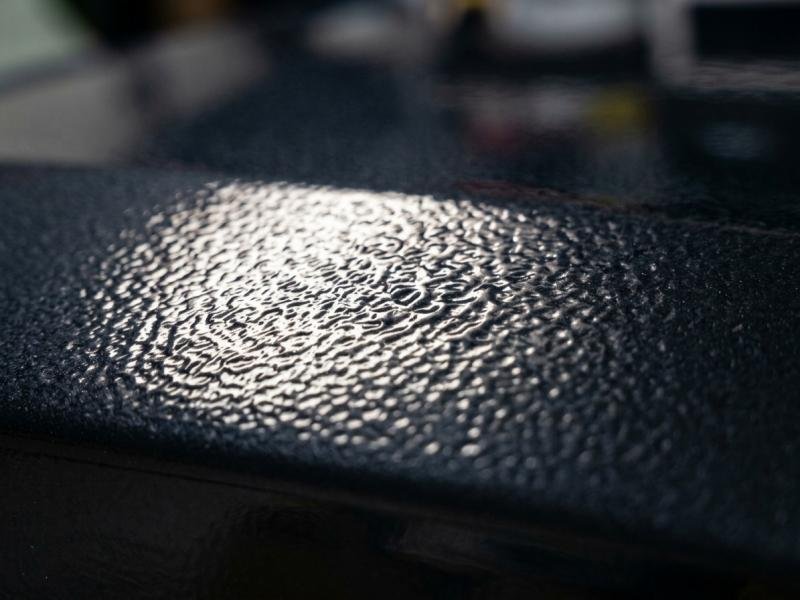
Orange Peel
What it looks like: A dimpled surface that looks like citrus skin.
Cause: Too much pressure, too much time, or heat from rotary tools during mold polishing. The steel surface starts to deform.
Prevention: Light pressure and short passes help maintain a uniform surface. If this occurs after polishing, the affected area may need to be returned to a coarser grit and polished again to restore surface uniformity.
Pitting
What it looks like: Tiny holes spread across the finish.
Cause: Impurities in the steel, EDM layer left behind, or over-polishing in one spot.
Prevention: Clean steel and full removal of the recast layer stop most pitting.
Haze and Staining
What it looks like: A cloudy film over a surface that should shine.
Cause: Residual paste, moisture, or rust.
Prevention: Alcohol cleaning after each stage, followed by fast drying and rust protection, keeps the finish clear.
Scratches and Cross-Contamination
What it looks like: Fine lines visible under a light at an angle, or random deep scratches on an otherwise fine surface.
Cause: Coarse grit carried into a fine stage on a tool, glove, or cloth, or a skipped grit step.
Prevention: Separate tools for each grade, fresh gloves, and a clean wipe between stages stop most scratches. A simple color code makes the tools easy to tell apart. Checking at 90 degrees to the last stroke catches leftover lines early.
Get Consistent Results with Professional Mold Polishing
Mold polishing is one of the last steps before a mold goes into production, and it is the step the finished parts show most clearly. A suitable method, steady steps, and careful checks before polishing help the cavity deliver a more consistent surface across production runs. Erye offers injection mold services, including mold polishing for different finish levels. For a project that needs a specific surface, you can send us your part drawing and finish requirements.