
Injection mold surface finish decides how your part looks, feels, and performs. A glossy phone bezel, a grippy tool handle, and a matte dashboard panel all start with the same plastic. The finish on the mold makes them different. So this guide explains the basics, the standards, and the real trade-offs of injection mold surface finish.
Understanding Mold Surface Finish
Mold surface finish describes how smooth the mold material is, covering polish and stone work on the cavity steel. Mirror polish, satin, and light matte are commonly used surface finish options. It appears as smooth and even surfaces on the molded part.
The finish of an injection mold also affects how a part looks under light. A polished surface reflects light evenly, so it shows every flaw, such as a flow line or a small scratch. A satin or matte surface scatters light, so small flaws become much harder to see. The choice of finish therefore decides both the look of the part and how visible its small flaws will be.
Injection Molding Finishes: Standards Explained
There are three major surface treatment standards in the industry. Each one gives every project a shared language for describing surface quality. Without a standard, “slightly matte” means something different to everyone, and a single reference number removes that guesswork.
SPI Mold Finish Standards

The SPI mold finish scale is the most common system in North America for grading injection molded part surface finish. It groups finishes into four families: A (Glossy), B (Semi-Glossy), C (Matte), D (Textured), with three grades in each. A is the smoothest. D is the roughest.
| SPI Grade | Method | Approx. Ra (µm) | Typical Look |
|---|---|---|---|
| A-1 | Grade #3 diamond buff | 0.012–0.025 | Mirror, optical |
| A-2 | Grade #6 diamond buff | 0.025–0.05 | High gloss |
| A-3 | Grade #15 diamond buff | 0.05–0.10 | Gloss |
| B-1 | 600 grit paper | 0.05–0.10 | Semi-gloss |
| B-2 | 400 grit paper | 0.10–0.15 | Semi-gloss |
| B-3 | 320 grit paper | 0.28–0.32 | Satin |
| C-1 | 600 grit stone | 0.35–0.40 | Matte |
| C-2 | 400 grit stone | 0.45–0.55 | Matte |
| C-3 | 320 grit stone | 0.63–0.70 | Dull matte |
| D-1 | Dry blast, glass bead | 0.80–1.00 | Fine satin texture |
| D-2 | Dry blast, #240 oxide | 1.00–2.80 | Dull texture |
| D-3 | Dry blast, #24 oxide | 3.20–18.0 | Rough texture |
VDI 3400

VDI 3400 comes from Germany. It focuses on EDM (spark erosion) surfaces. The scale runs from VDI 0 to VDI 45, and a higher number means a rougher surface. The numbers grow in steady steps, and roughness roughly doubles every six grades; for example, VDI 18 (about 0.8 µm Ra) is twice as rough as VDI 12 (about 0.4 µm Ra).
Common picks include:
- VDI 12 to 18: Fine, low-gloss surfaces. Good for electronics housings.
- VDI 21 to 27: Medium matte. Good for appliance parts.
- VDI 30 to 36: Coarse matte. Good for hand-held tools.
Mold-Tech

Mold-Tech is a texture standard. It offers hundreds of patterns, such as leathers, woods, geometric grids, and stipples. Each pattern carries a code that starts with MT- and ends with five digits. Photo-etching creates most Mold-Tech patterns. The pattern gets transferred to the steel with acid. This gives a repeatable look across multiple molds.
How to Achieve Plastic Injection Molding Surface Finish
Techniques of mold surface finishing range from mechanical polishing to specialized treatments that can create specific textures. These processes modify the mold surface through different working principles to achieve the required surface characteristics.
- Diamond polishing: Fine diamond compounds work the mold surface to a mirror shine. This process produces the SPI A grades. A clear light cover, for example, needs an A-2 finish so the LED glow stays even.

- Stoning and sanding: Stones and sandpaper of different grits give a semi-gloss, satin, or matte surface. This process produces the SPI B and C grades. A printer housing often uses a C-1 stone finish to get a calm, low-glare look.

- Sand and glass bead blasting: Fine media hits the mold surface and leaves an even, non-directional texture. Glass beads give a soft satin, and oxide grit gives a rougher look. These methods produce the SPI D grades.

- EDM (spark erosion): Controlled electrical sparks burn the pattern into the mold. This process produces VDI 3400 surfaces and reaches deep ribs and tight corners.

- Chemical (photo) etching: A mask and acid transfer the pattern to the mold. This process creates Mold-Tech textures such as leather, wood, and geometric grains.
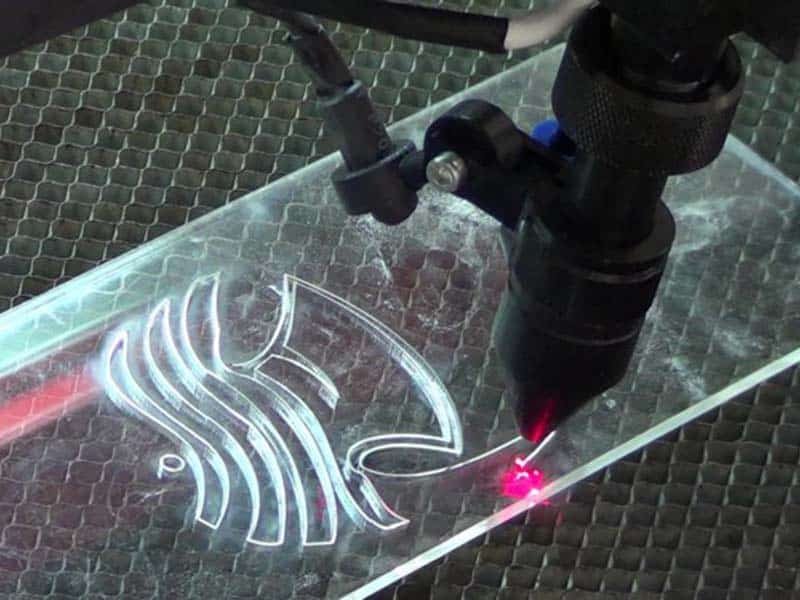
- Laser texturing: A laser engraves the pattern directly into the mold. It follows 3D shapes and supports custom artwork. For example, special grip patterns can be added to the handle with laser texturing.
Why Different Injection Molding Surface Finishes Matter
Injection molding finishes influence how a plastic product looks, feels, and performs in everyday use. The points below cover the main ways a surface finish affects the final part.
Appearance and Feel
Surface finish affects a plastic product’s visual appearance and tactile characteristics. A glossy finish creates a sleek, modern look, while a fine matte finish provides a more subdued, refined appearance. The same plastic material can look different depending on the surface finish you choose.
Grip and Handling
The roughness of the surface controls how a product feels in the hand. More friction gives users better control, especially with wet, oily, or gloved hands. Less friction gives a smooth, refined feel, but the product can slip in use.
Light Control
A surface reflects light according to its smoothness. Some finishes bounce light in one direction and create glare. Others spread the light out and soften the reflection. This is particularly important when reading a display or seeing clearly, such as on dashboards, instrument panels, and screen frames.
Paint and coating adhesion
When a product gets paint or a coating, the surface finish affects how well that layer sticks. Paint bonds better to a surface with a little roughness, because tiny peaks and valleys give the coating more area to hold. Very smooth surfaces offer less hold, so coatings can lift over time.
Cost
Each finish adds a different amount of work to the mold, and that work shows up in the tooling budget. Finer, glossier surfaces need more hours of careful work, so the cost rises as the finish gets smoother. Rougher surfaces usually take less time.
What to Consider When Choosing a Finish
Selecting the ideal surface finish requires balancing aesthetics with manufacturing realities. When deciding on the best finish for your project, consider the following key factors:
Resin Type
Each plastic behaves differently, so the resin affects which finish works best. Clear polycarbonate and acrylic need a high polish because transparent walls show every scratch, and a rough mold surface makes the part look cloudy. Glass-filled nylon suits a matte or light texture since its glass fibers wear down a fine polish quickly, and polypropylene often looks best with a light texture because it tends to show sink marks and flow lines on smooth surfaces.
Part Geometry
The shape of a part affects which finish is a good choice. Deep ribs and tight corners are hard to polish, so a high-gloss finish suits open, easy-to-reach surfaces better. Steep walls and sharp curves also need extra care, since the finish does not form evenly on these areas. Fine detail gets lost on them, so the surface looks less uniform than it does on flat areas.
Draft Angles
The draft angle of a part decides how rough a surface finish can be. Rougher walls grip the mold during ejection, so they need more draft than smooth walls. A common guideline calls for about 1° of draft for every 0.025 mm (0.001 in) of surface depth. A part with little draft suits a polished or light surface finish, because a deep, coarse finish on a near-vertical wall would scuff as the part leaves the mold.
Production Volume
A high-volume run puts the mold surface through hundreds of thousands of cycles, and that wear gradually dulls polish and softens texture detail. Matte finishes are better over that many shots, as small changes stay hard to see. A mirror polish shows wear much faster. A low-volume run wears the surface far less, so a fine polish can last through the whole project without extra treatment.
Budget and Lead Time
Each finish adds its own cost and time to the mold build. Mirror polishing often takes many hours of hand work. Etching adds days for pattern preparation, masking, and acid treatment, and deep or complex patterns may need several rounds. Simpler finishes, such as a light stone or a standard blast, take far less time and cost less. Pairing a premium finish on visible areas with a simpler finish on hidden surfaces keeps both the budget and the schedule under control.
Ready to Choose Your Injection Mold Surface Finish?
Injection mold surface finish is far more than a final cosmetic touch; it is a fundamental engineering decision that dictates how a product looks, feels, and performs in the real world. There is no universal “best” finish—only the most strategic choice for your specific application.
At Erye, we offer comprehensive mold surface finishing services to bring your product’s aesthetic and functional vision to life. From high-gloss SPI mirror polishing to custom Mold-Tech texturing and precision laser etching, our experienced team handles every detail of the mold surface.