
When the parts come out, the color is patchy, streaky, or drifts from batch to batch. This isn’t just an aesthetic “issue”; it’s a high-stakes defect that triggers costly scrap, supply chain delays, and missed deadlines. Actually, color control is a systemic discipline. This guide breaks down why uneven color happens across the four pillars of manufacturing—Materials, Process, Machinery, and Tooling—and provides a guide to eliminate it.
What Is Uneven Color in Injection Molding?
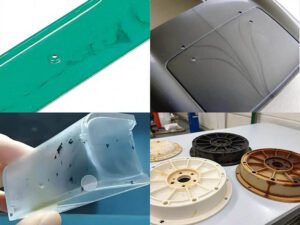
Uneven color refers to a condition where the surface of an injection molded part does not exhibit uniform coloration. This defect may present in several forms:
- Shade variation (light vs. dark areas)
- Color streaks or flow marks
- Spots or speckles
- Batch-to-batch color inconsistency
In practical production environments, uneven color is not only an aesthetic issue—it often indicates deeper process instability or material incompatibility.
Causes and How to Fix Uneven Color
To systematically eliminate color inconsistency, we analyze the root causes across five critical dimensions: Raw Resin, Colorants, Process Parameters, Machinery, and Tooling.
1. Raw Resin Impacts
The base polymer’s quality and stability dictate the foundation of color control.
- High volatile content or residual moisture causes hydrolytic degradation in heated barrels. This will lead to polymer yellowing, silver splay marks, or hazy micro-voids that distort the target color. We implement rigorous IQC (Incoming Quality Control) to test thermal stability and batch consistency before any resin enters production. All materials are thoroughly pre-dried in desiccant dryers according to specific material datasheets.
- For glass-fiber-filled resins, uneven fiber distribution can cause “fiber floating” (fibers exposed on the surface), which drastically disrupts visual uniformity. We optimize screw backpressure to ensure uniform fiber dispersion and adjust tool temperatures to freeze a resin-rich layer on the surface, concealing the fibers and maintaining color uniformity.
- For semi-crystalline polymers like Nylon (PA) or Polypropylene (PP), cooling rates dictate final crystallinity. Insufficient or uneven crystallization directly alters the plastic’s opacity, shifting it from translucent to a milky opacity, causing patchy color depth. We utilize high-efficiency Mold Temperature Controllers (MTC) to maintain precise mold temperatures.
- Highly rigid or high-impact materials (such as HIPS and ABS) are prone to severe internal molding stress, leading to stress whitening or localized discoloration. We optimize the packing pressure and cooling cycle to minimize molded-in residual stress.
2. Colorant Quality & Dosing Control
Most custom injection molders do not manufacture colorant in-house. Therefore, supply chain control and precise dosing on the shop floor are paramount.
- If a pigment has poor dispersion or lacks the thermal stability required for the processing temperature, it will break down in the barrel, causing localized streaks or marbling. We perform mandatory color plaque sampling for every incoming batch of masterbatch, cross-checking it against the client’s signed master sample using a spectrophotometer.
- Metallic or pearlescent additives (flake-shaped pigments) tend to align along the melt flow lines. This directional orientation creates distinct color variations, shifting shades, and highly visible weld lines. On the press, we utilize multi-stage injection profiling to control the orientation layer of the flakes.
- Mixing dry pigment powder with resin pellets via tumbling often fails. The powder simply adheres to the pellet surfaces and mixes poorly during plasticization, leaving distinct color swirls in the final part.
- Light pigment powders are easily airborne, settling in hoppers, on the machine frame, or inside the mold cavity, creating localized spots. We isolate material preparation zones and enforce strict shop-floor housekeeping.
- Color feeder throats are small and prone to clogging from resin fines and dust, which leads to drifting ratios or motor stalls. We enforce a strict schedule to regularly clean the dosing screws to maintain feeding accuracy.
3. Injection Molding Process Parameters
Even with perfect materials, improper process settings can degrade the color during the molding cycle. We lock down and align parameters to prevent process-induced color shifting:
- Excessive barrel temperatures or prolonged residence times inside the barrel or hot runner system cause thermal breakdown of both the polymer matrix and the pigments, leading to yellowing, dark streaks, or burn marks. We optimize the overall molding cycle to ensure a consistent, minimal residence time in the barrel. Once the baseline process is finalized, temperature and cycle time windows are strictly locked into the machine’s control system.
- Insufficient backpressure or overly low barrel temperatures prevent the resin and masterbatch from fully homogenizing, leaving distinct, unblended color patches on the part surface. We slightly increase backpressure to enhance mechanical mixing during plasticization, ensuring a completely uniform melt blend before the injection stroke begins.
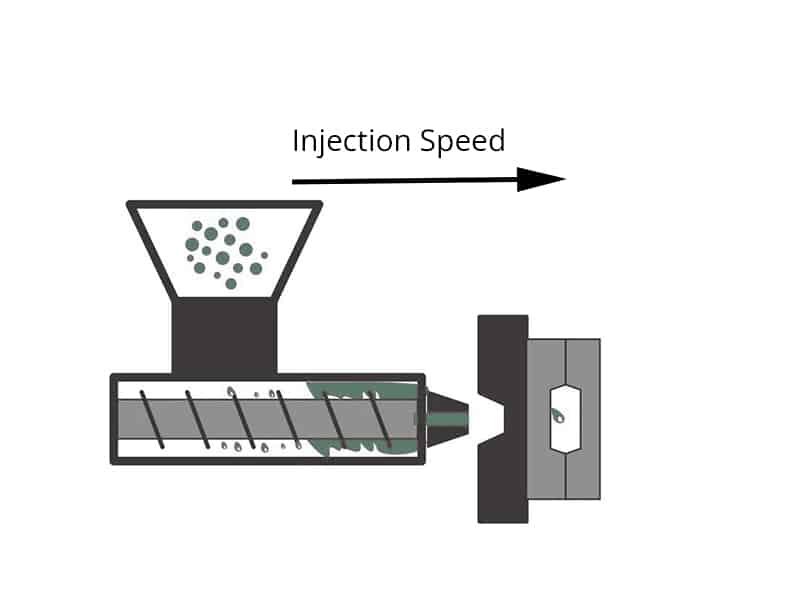
- Aggressive injection speeds force material through restricted gates too rapidly. This high shear friction induces a localized thermal spike that destroys the pigment’s chemical bonds, leading to localized color shifting or fading. We avoid high-shear injection profiles unless necessary. By utilizing multi-stage injection speeds, we slow the melt-down as it passes through the gate, safeguarding the colorant’s integrity.
4. Molding Machinery Inconsistencies
Mechanical wear and hardware failures are frequent, hidden drivers of color drift. We mitigate machine-related failures through strict preventative maintenance:
- If a heating band burns out or a thermocouple loses calibration, barrel temperatures will spike or drop wildly. A burnt-out heating band usually presents as uneven plasticization and localized color swirls. Conversely, a runaway thermocouple (overheating) is accompanied by gas marks, severe discoloration, or material charring. Our maintenance teams perform routine electrical checks on heating elements and thermocouples.
- Over time, flight wear on the screw reduces mechanical mixing efficiency (plasticization), allowing unhomogenized color to pass into the nozzle. We run regular physical inspections of the screw and barrel tolerances.
- Residual material from prior runs or degraded plastic trapped in dead spots (like the nozzle tip or end-cap threads) will slowly bleed into the current production run. We execute thorough mechanical purging routines using specialized purging compounds when changing colors or materials to completely clean the barrel and nozzle.
5. Tooling & Mold Related Factors
The mechanical design of the mold cavity impacts how the plastic cools and captures color.
- Excess mold release agents or grease migrating from ejector pins/sliders can mix directly into the plastic melt, causing dark streaks, dull spots, or localized surface discoloration. We enforce strict shop-floor protocols to wipe away excess grease and keep the mold cavity clean during production.
- Trapped air that cannot escape the cavity creates localized high pressure. At high compression, this triggers dieseling (gas burns), charring the plastic and ruining the local color. Optimized venting methods: venting channels are precisely engineered at the last filling points to eliminate gas trapping.
- If cooling lines are clogged, scaled, or poorly mapped, different zones of the cavity will exhibit different temperatures. For crystalline resins, this causes patchy gloss variations and distinct color shifts across the exact same part surface. We utilize high-efficiency Mold Temperature Controllers (MTC) to guarantee uniform cooling across both the core and cavity halves.
Other Color Variation Scenarios
In addition to the five core causes, uneven color can also result from post-processing mechanical stress, long-term environmental exposure, and inconsistencies in masterbatch dosing.
Stress Whitening
When a plastic part is subjected to tensile or bending stress, the stressed area turns white. The underlying mechanism of stress whitening is that when the polymer is stretched under external forces, the color molecules are pulled apart, forming microscopic voids. This leads to localized, permanent whitening, hazing, or fading. The severity of this effect varies depending on the specific plastic material used.
The primary factors influencing stress whitening include the type of pigment, the choice of base resin, the product’s wall thickness, and the residual stress induced during processing.
UV-Induced Fading and Degradation
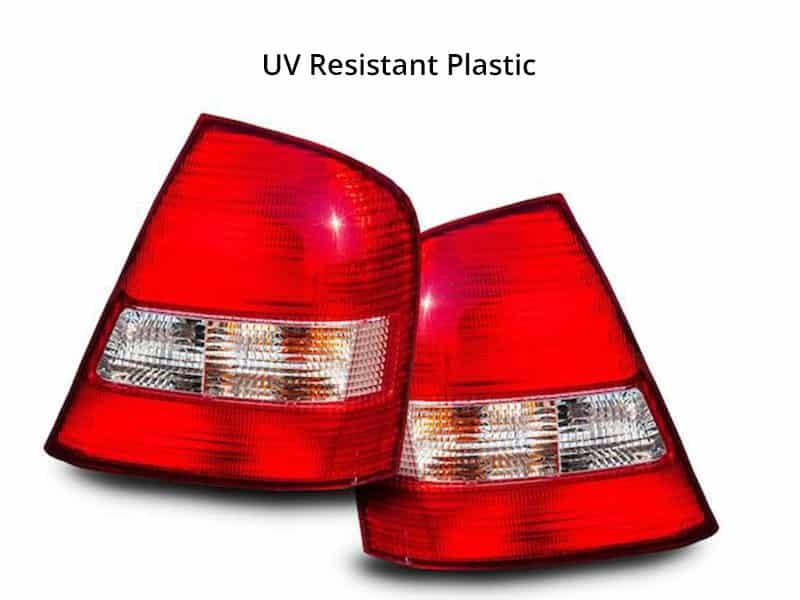
Exposure to both indoor artificial lighting and outdoor sunlight will cause colors to degrade gradually over time. Therefore, simply adding UV stabilizers to the raw material is often insufficient; selecting light-fast, weather-resistant pigments is crucial when necessary.
Inaccurate Masterbatch Dosing Ratios
When the actual masterbatch blending ratio deviates from the recommended specifications, it creates color discrepancies. This is one of the most common root causes of color deviation directly on the production floor.
How to Inspect and Verify Color?
To eliminate subjective disputes between the quality control teams and the production team. We enforce a strict three-step verification process to guarantee total alignment with client specifications:
On-Site Visual Indexing
Technicians utilize calibrated physical color books, such as the Pantone Matching System (PMS) or RAL standards, to perform quick visual indexing during stable runs. Inspect parts under a standardized 40-watt fluorescent lamp, holding the sample at a 30cm distance, and compare it directly to the client’s signed master sample.
Standardized Light Box Inspection
All visual color matching is conducted inside a controlled Color Matching Cabinet (Light Box). Components are inspected at a fixed distance and angle under industry-standardized illuminants for general aesthetics.
Digital Spectrophotometry Verification
For high-precision projects, we utilize a calibrated Spectrophotometer to capture the absolute color data of the molded part.
Conclusion
Eliminating uneven color in custom injection molding is not about a single variable, it is a systemic challenge. Prevention is always far more effective and cost-efficient than a resolve solution. To guarantee perfect color uniformity, potential risks must be comprehensively evaluated during the initial product design and mold engineering review phases. We provide a comprehensive Design for Manufacturing (DFM) review at the quotation stage, identifying potential color and material risks before tooling even begins. Welcome to contact us and get a professional custom injection molding.