Plastic rib design plays a pivotal role in reinforcing injection molded parts. Proper design can enhance the components’ structural integrity without adding substantial weight or material. For product developers, mastering rib design is critical to producing parts that meet both functional and manufacturing requirements. This guide explores detailed geometry guidelines, specific material considerations, and best practices to optimize your designs.
When to Incorporate Rib Features
Plastic ribs are structural reinforcement features in injection-molded parts to improve strength and rigidity. It is a cost-effective approach to creating lightweight yet durable plastic components. Typically positioned perpendicular to a part’s walls or planes, ribs serve multiple purposes:
- Avoid Defects: By adding reinforcing ribs, the molding parts can avoid sink marks or warping in heavy sections.
- Reinforcing Ribs for Strength: Ribs increase the bending stiffness by distributing loads along thin sections, enabling parts to withstand higher loads without deformation.
- Reduce Material Use: The ribs reduce wall thickness, minimizing material usage and production costs.
- Improved Mold Flow: Strategically placed ribs guide molten plastic during injection, ensuring even cavity filling and reducing defects like voids or uneven cooling.

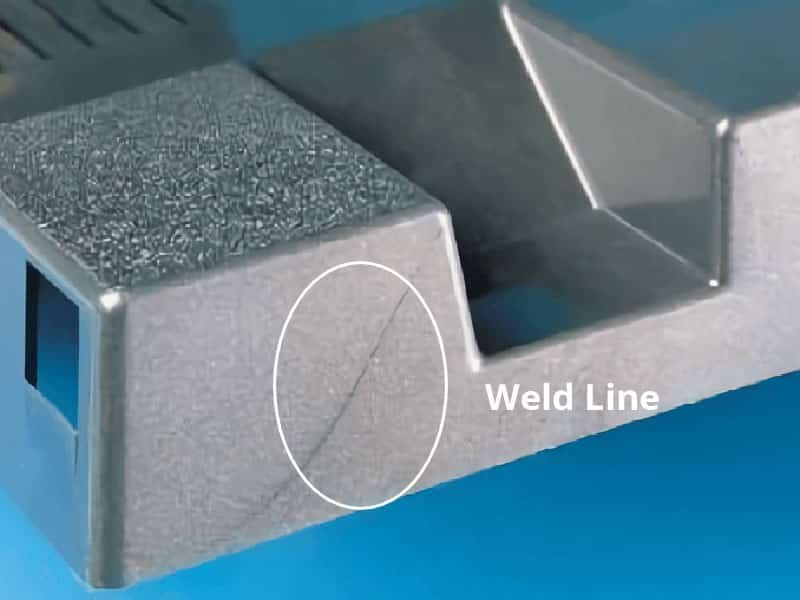
In practice, plastic ribs often run perpendicular to main walls or bosses to support them under load. For example, placing ribs along long unsupported stretches retains rigidity without the cosmetic and dimensional problems of a uniformly thick wall. The figure shows the reinforcement at the bottom of the container, figure (a). Due to the intersection of the reinforcement, the thickness is not uniform, easy to produce bubbles, shrinkage holes, etc. Figure (b) is more reasonable.

Rib Geometry Design Guidelines
Designing ribs requires adhering to geometric rules that balance strength with moldability. Proper rib design can prevent common manufacturing defects such as sink marks, warpage, or uneven cooling. The following are essential rib geometry design principles.
- Rib Thickness: A rib’s base thickness is typically about 40–60% of the nominal wall thickness. For example, the rib thickness for a 2 mm wall should be ≤ 1.2 mm. Keeping ribs thinner than the wall avoids creating an overly thick junction that would sink on the opposite surface. Thicker ribs increase risk of voids and sink marks.
- Changes in Thickness: Keep walls and ribs uniform in thickness wherever possible. If the non-uniform thickness is needed, make the change as gradual as possible. A uniform rib (constant taper) is much easier to mold than one with variable thickness.
- Rib Height: Rib height should be limited to three times the wall thickness. Taller ribs can cause warpage, uneven shrinkage, and mold ejection issues. If more support is needed, use multiple shorter ribs to distribute stress, which also helps plastic fill the rib base before solidifying
- Rib Spacing: Space the ribs widely, at least two to three times the wall thickness apart. This allows proper cooling and reduces the risk of sink marks or insufficient mold filling.
- Draft Angles: Incorporate draft angles of 0.5°–2° per side to facilitate easy mold ejection, reduce stress on the tool, and minimize damage to the part or mold. Use angles on the higher end (1–2° or more) for tall ribs or textured parts.
- Based Rib Radii: Include a radius where the ribs intersect with either the base or the sidewall. The radius should typically be 0.5 to 1 times the wall thickness. This helps reduce stress concentrations and promotes smooth material flow during injection. Furthermore, molds with larger radii are much easier and cheaper to machine.
The image illustrates the typical shape and size of the rib design

Mold Design Tips for Rib
Rib geometry design affects part moldability. Properly designed ribs make molding easier, while some mold design tips should be considered.
Include cooling channels near heavy sections
Thick ribs can trap heat and lead to sink marks on the opposite surface, so cooling circuits are placed near critical ribs to remove heat quickly.
Adjust gate location or tool venting
Ribs usually fill later than the main walls, so gating and runner layout must ensure molten plastic reaches rib bottoms before the flow front freezes. Very thin ribs (especially near the gate) can freeze off if fill time is long. To mitigate this, adjust gate location or add mold venting if needed.
Ribs and Gussets in Plastic Rib Design
What is a Gusset?
Gussets are triangular or wedge-shaped support structures used to reinforce plastics, such as corners, sidewalls, and bosses. Gussets are designed to equitably distribute weight and stress, enhancing robustness and avoiding fracture under stress. Gussets are especially important in areas susceptible to stress buildup to ensure that components withstand the rigors of assembly and operational use.
Difference Between Ribs and Gussets
Both ribs and gussets are designed to strengthen molded parts; they diverge in their morphological attributes and functional roles.
- Ribs: Slender, wall-reminiscent features that furnish internal bolstering to walls or bosses. It extends perpendicularly from one surface to another. Primary utility lies in amplifying the flexural rigidity of a part without substantially augmenting its mass or material consumption.
- Gussets: Angled supports that reinforce angular intersections, junctions, and other critial stress foci, which frequently have a triangular configuration. It enables interconnecting disparate sections of the parts, thereby optimizing load distribution.
In a word, ribs are typically thin, vertical walls that span between surfaces, which are used to prevent bending or flexing in flat areas. Gussets are angled structures that connect two surfaces, often to distribute stress and enhance rigidity.
Although ribs and gussets differ in shape, both structural elements adhere to analogous design tenets.
Reinforce Bosses and Walls with Gussets
When screw bosses in plastic parts are tall or need to bear significant loads, reinforcement ribs and gussets are designed to enhance strength. The left figure below shows the gussets design for the principal sidewall screw, and the right figure shows the ribs near the sidewall screw post.

The following design reference for screw boss reinforcement gussets includes specific dimensions.
- Dimension A: The planar width at the top end of the gusset should be at least 0.5mm.
- Dimension B: The width at the bottom end should be 0.2 to 0.5 times the height of the screw boss.
- Dimension C: The distance from the gussets to the top plane of the screw boss should be at least 1mm

Design Ribs for Different Materials
Rib dimensions often need adjustment based on material properties. Semi-crystalline plastics (like polypropylene, polyethylene, and nylon) tend to shrink more and anisotropically when cooled. In contrast, amorphous plastics (ABS, polycarbonate, PS) generally have low, isotropic shrinkage. In general, ribs should be thinner for high-shrink materials and can be thicker for low-shrink materials. It is necessary to consult specific material data to account for each resin’s flow and shrink behavior.
Below are examples of commonly used materials:
- ABS (Acrylonitrile Butadiene Styrene): Rib thickness should be ≤50% of the intersecting wall thickness, increasing to 70% for non-deterministic surfaces or 80% for thin foam. Height should not exceed three times the wall thickness (Zetar Mold).
- PA (Polyamide, Nylon): Rib height should be ≤3 times the bottom thickness. Small ribs or grooves behind the main rib can mitigate cooling indentations.
- PBT (Polybutylene Terephthalate): For wall thicknesses <3.2mm, rib thickness should be ≤60%; for >3.2mm, ≤40%. Height should be ≤3 times the bone thickness, with a 0.5mm radius at the connection for smooth flow.
- PC (Polycarbonate): Follow guidelines similar to PS, with thickness dependent on material flow and wall thickness.
- PS (Polystyrene): Rib thickness should be ≤50% of the wall thickness to avoid inconsistent gloss and surface defects.
- PSU (Polysulfone): Ribs enhance impact strength, but poor design can lead to shrinkage marks and reduced impact resistance.